AnyConnect installation
- Go to AnyConnect at https://play.google.com/
- Click "Open in App" in the upper right hand corner of the address bar

- Choose "Play Store" and click "Open"

- In the Play Store, click "Install" and wait for the download and installation to complete.

First time setup of AnyConnect
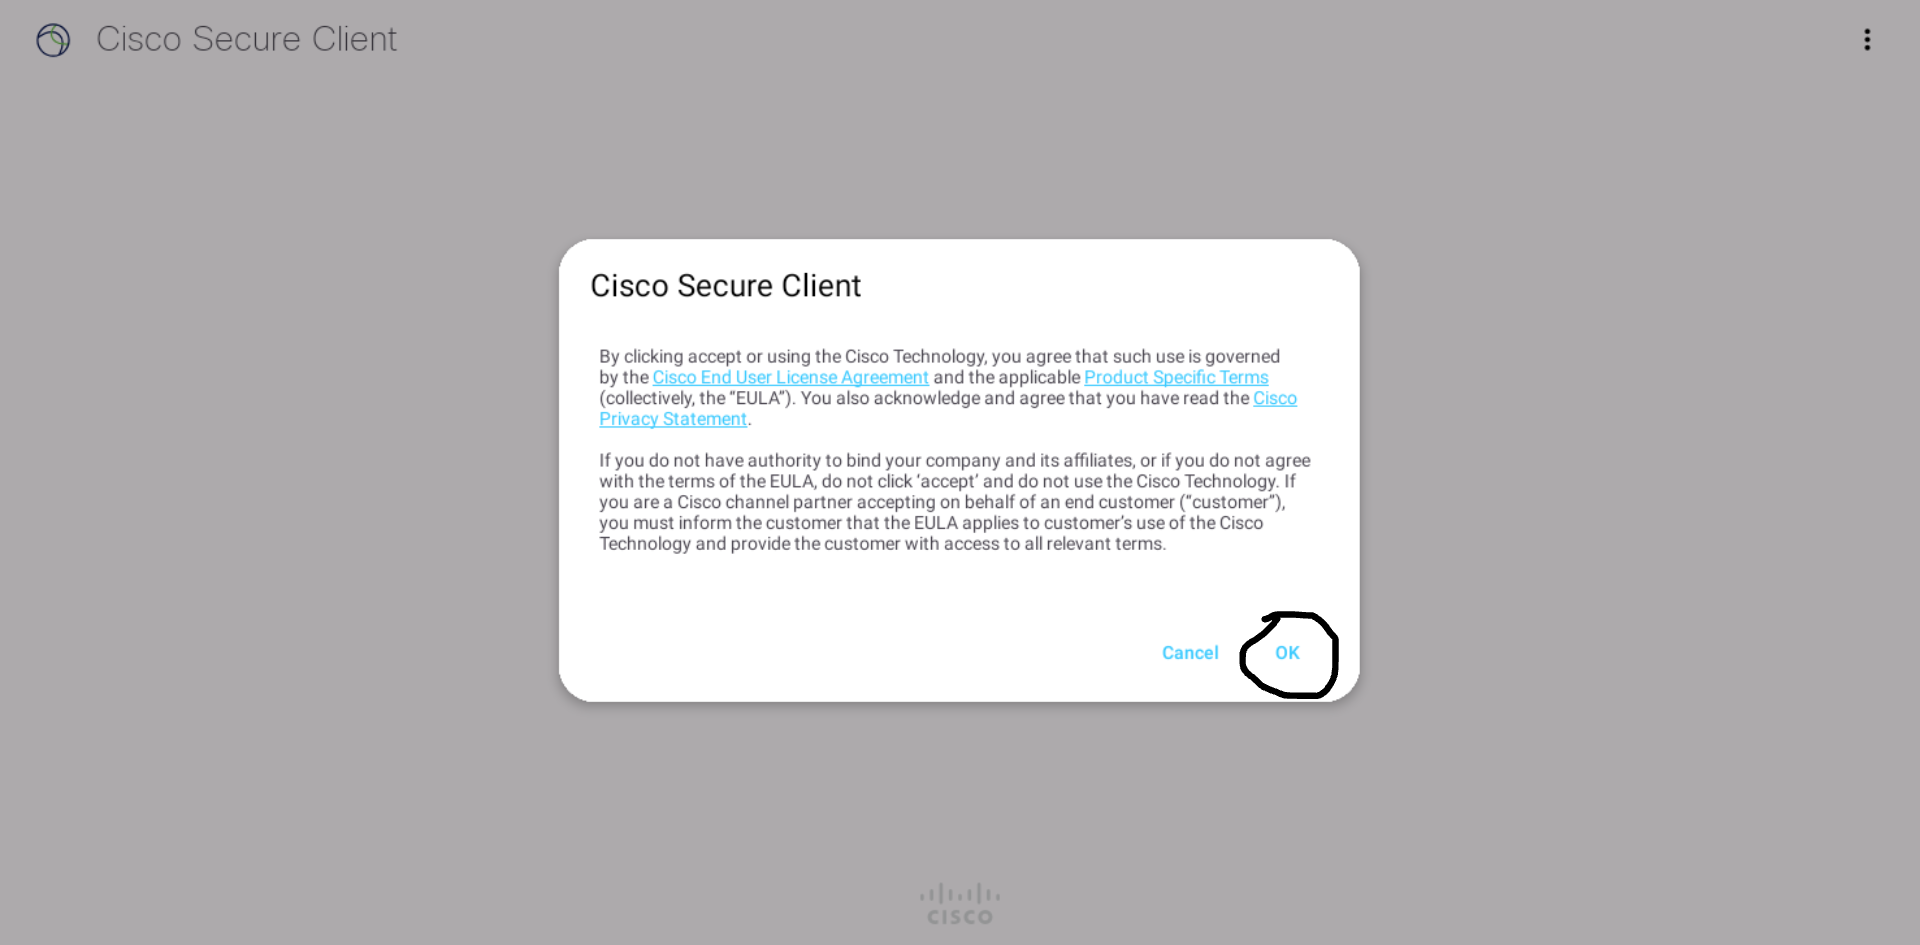
- Open AnyConnect when Play Store finishes the installation.
- Click "OK" in the popup message to accept the terms and conditions.
- Click "OK" in the popup message about AnyConnect wanting to read device information.
- Click "Allow" in the popup message asking for phone access, this is used so that AnyConnect can read basic information about your device.
- Click "Connections"

- Click on the plus-sign in the lower right hand corner to add HiØ's VPN-server.
- In the "Description"-field, enter the name you want to save the connection as, for example HIOF.
- In the "Server address"-field, enter the server name corresponding to your association with HiØ:
| Student | Academic staff | Administrative staff |
|---|---|---|
| vpn.hiof.no/stud | vpn.hiof.no/fag | vpn.hiof.no/adm |
To finish the setup, click "Done" and click on the back button in the top left hand corner to exit "Connection editor".
Connecting to VPN through AnyConnect
To connect to VPN, open the AnyConnect-app and turn on the switch for "AnyConnect VPN".

You will then be asked to sign in. If you are unsure how to do this, you can view our guide for this here.
When you are ready to disconnect from VPN, click the "AnyConnect VPN" switch again as shown in the screenshot above.